One of the fastest growing segments in the hunting market is “home game processing” and for good reason. More and more people have decided to take control of their own destiny and not rely on others to supply their food. It is a very natural segue for hunters though it can be a little daunting for folks who have dropped their deer off at the processor for as long as they can remember.
Advantages to processing your own game?
- You KNOW you’re getting your own meat back, and you KNOW how it has been handled through the entire process.
- You can season it however you wish.
- Processing your own game meat is FUN!!

Making great jerky starts as soon as the animal hits the ground. Meat quality begins with getting meat cooled down as quickly as realistically possible. Depending on your style of hunting and the critters you are hunting, this amount of time can vary, but taking care of meat should be a top priority. Things that help meat cool quickly are getting the insides out, and getting the fur or feathers off. Make sure and know the rules and regulations where you are hunting, as certain states have different requirements when field dressing, especially if quartering game in the field.
Aging game meat. If you have access to a hanger where temperature can be controlled, hanging meat is a GREAT move. This will accomplish 2 things. 1. It allows naturally occurring enzymes to begin to tenderize the meat. 2. It will dry slightly and form a rind or pellicle that makes cleaning and trimming MUCH easier. The ideal temp for aging meat is between 32 and 34° Fahrenheit and having good airflow is important. Most experts do not recommend aging for more than 14 days.
Once the meat has been cleaned, trimmed and boned it’s time to make jerky. Jerky can be made from any game meat, there are a few simple rules to follow regardless of the type of meat.
- Start with COLD meat; approx. 32° F is ideal. Cold meat is more firm and easier to slice.
- Wear cotton gloves under rubber gloves, this makes handling very cold meat easy.
- Put your grinder head and blades in the freezer a couple hours prior to grinding.
- Remove ALL fat and connective tissue. Fat will go rancid and is the enemy of good jerky.
- Separate sliced meat and ground trim into 5lb raw batches. 5lbs is ideal as it will fit perfectly in a 1 gallon ziplock bag to marinate.
- When grinding trim, adding crushed ice to the grinder will help keep meat cold. The water will evaporate in the cooking process.
Seasoning and Curing Jerky
Making jerky, sausage and meat snacks is a lot easier than most people think. There are two separate and distinct ingredients that many people get confused or consider to be one in the same. They are not the same. We are talking about “seasoning” and “cure”.
Seasoning is what gives jerky, sausage and meat snacks its flavor.
“Cure” (Sodium Nitrite) tends to be misunderstood and even gets a “black eye” in some circles. Cure is the stuff that gives ham and pastrami a nice pink color. More than a century ago, food safety wasn’t up to today’s standards and there was a bacterium called “botulism” that was more common than it should have been. Through the magic of science, it was discovered that “Sodium Nitrite” would kill botulism. Prevailing logic in the era was – if some is good, more is better – and…well, too much of a good thing can be too much of a good thing. Excessively high levels of Sodium Nitrate led to some health issues that while not as bad as botulism….were less than ideal. As long as Sodium Nitrite is kept to prescribed levels, it is VERY safe. And it is MUCH safer to use Sodium Nitrite than it is to NOT use Sodium Nitrite, especially in home processing.
Celery Juice Powder is a “natural” source for Sodium Nitrite, HOWEVER, even though it is naturally occurring, it’s still the same exact compound as found in commercial Sodium Nitrite. It’s out there, it works and it’s expensive and will cake up something terrible when exposed to any humidity.
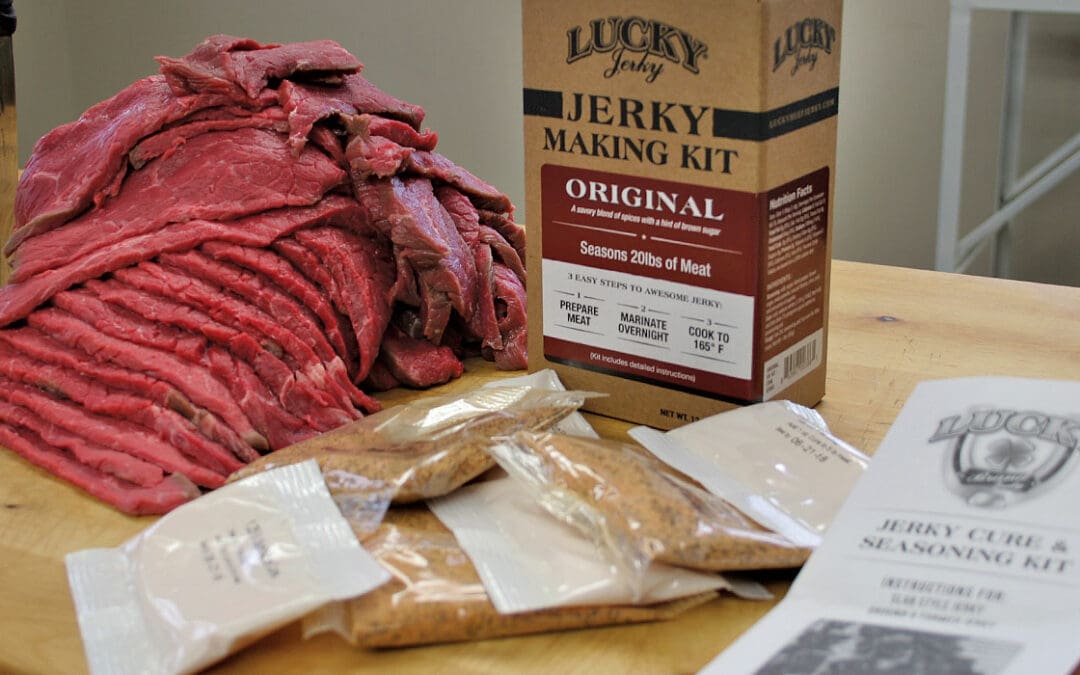
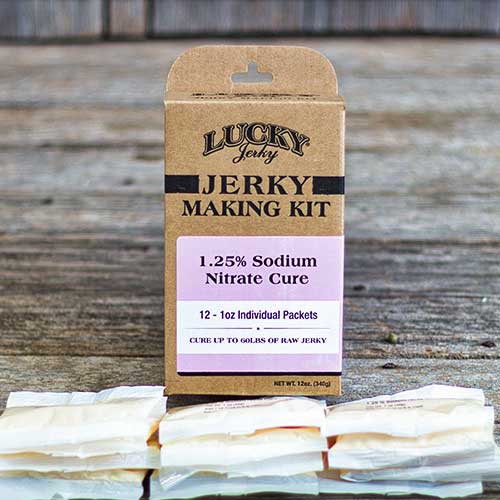
Better choices for cure are: Prague Powder #1 (Prague #2 is for uncooked, cured meats) Morton TenderQuick and Lucky Beef Jerky 1.25% Sodium Nitrite Cure.
The chart below will serve as a guideline for SEASONING rates.


Layout and cooking
When laying jerky out – whether it is traditional style slab jerky, ground and formed, or snack sticks in casings – it is important to have space between the pieces to allow for adequate air flow during the cooking process. “Cooking jerky” is actually a combination of cooking and drying so it is important to keep the oven temperature relatively low – 160 to 180° F is ideal – and doing things to encourage airflow is also very important when cooking jerky.
A key thing to remember when cooking jerky is that to effectively kill salmonella and it’s like, it is important that the jerky is cooked to 160° F before it is dried. Bacteria kills much easier with wet heat, as it is more conductive, than it does dry heat. If food is dried prior to being cooked to 160° F, any present bacteria will become more heat tolerant.
Conventional ovens are a GREAT way to cook jerky. We like to use a stackable rack system, available from numerous retailers online, on the lowest rack in the oven. Be sure to set the oven to its lowest setting ABOVE 160° F and crack the oven door open a couple inches to promote convection, which will aid in the balance between drying and cooking.
Smoker/wood pellet grills are also a good way to make jerky. The down side can be temperature control and more smoke flavor than some jerky enthusiasts are trying to achieve. Newer pellet grills have outstanding temperature control and the nature of the grills tends to promote airflow, which will help greatly in the drying process, so it is a good idea to use a little more heat on a smoker to ensure the jerky reaches 160° F prior to the jerky becoming dry.

Dehydrators are a jerky making favorite. They are designed from the ground up to dry foods, and they do a great job. The one caveat to dehydrators for jerky making can be the temperature. The USDA recommends that all meat be cooked to an internal temperature of 160° F to kill bacterium like salmonella, many dehydrators will not reach 160° F. The USDA recommends cooking the jerky to an internal temp of 160° F, then dehydrating the jerky to desired consistency.

Establishing “doneness” is a matter of personal preference. It is important to make sure that the jerky has reached an internal temperature of 160° F, and at this point, there is generally still quite a bit of moisture. Moist jerky is much more tender than very dry jerky, but, moist jerky will also spoil much more quickly. One of the “seat of the pants” tricks we look for when cooking an industrial batch of slab jerky is to “break” a piece of the jerky. When we break the jerky, if we can see white fibers, it’s a good indicator that we’ve reached an adequate level of dryness. In the industrial setting, we verify this with a “water activity meter” but in the home kitchen, verifying the internal temperature and the “break test” are a solid substitute.
Cooling and Storage are the final steps in jerky making. If you’re making jerky that is to be enjoyed in the short term, and desire a higher moisture (more tender) once the jerky reaches an internal temp of 160° F+, take it directly from the oven and place the cooking racks in a refrigerator. This will cause moisture to be pulled back into the jerky and it will have a more tender bite. If drier jerky is desired, simply remove from the oven and allow to cool to room temp. Once the jerky has cooled, the best way to store it is in plastic containers with snap on lids. While zip lock bags are convenient, jerky typically has many sharp corners and edges that tend to puncture bags. Plastic containers eliminate this issue. Jerky will typically store for up to a few days at room temp, a few weeks in refrigeration, and a few months or longer if frozen.

