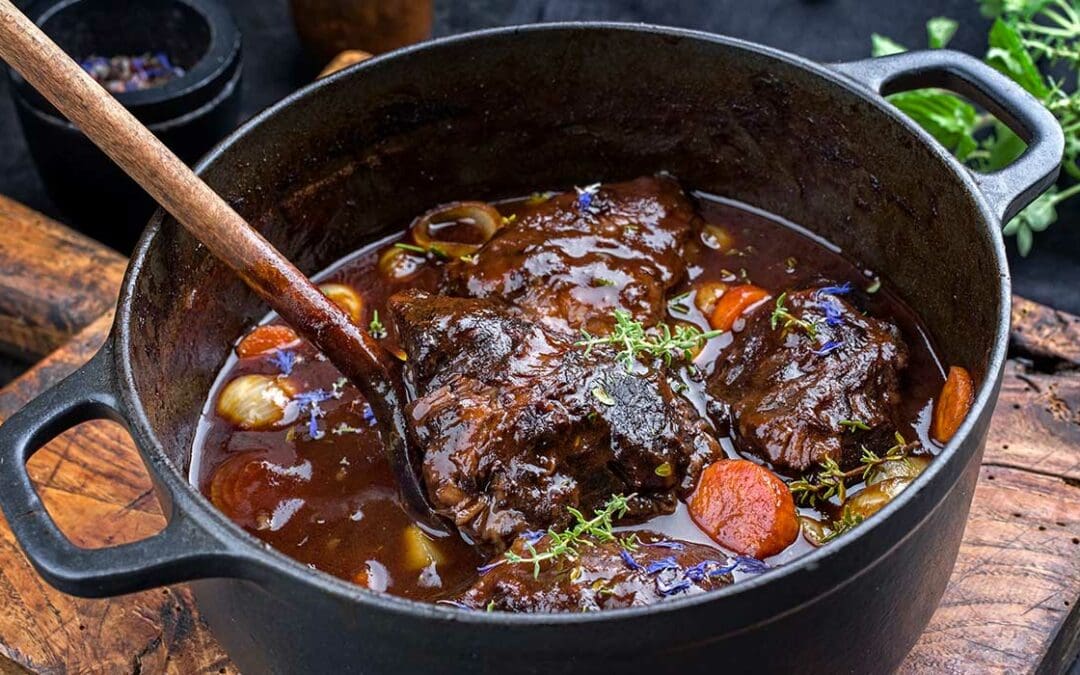
Braising is one of the best kept secrets of many restaurant kitchens, but does not seem to have achieved the same level of interest among home cooking enthusiasts. It’s not as romantic as the smell of beef cooking on a wood fire, but braising is simple, effective and virtually fool-proof.
Much like the more popular BBQ “low & slow” methods, braising is ideal for tougher cuts of meat like – brisket, chuck roast, short ribs, neck roast, etc – because these cuts have large amounts of collagen and connective tissue. The reason that these cuts have more collagen and connective tissue than other cuts of meat, is because they come from muscle groups that are used regularly and become strong and tough.
Collagen to Gelatin transformation. This is the “secret” ingredient in ALL low and slow cooking. Gelatin can hold up to 5 times its weight in water. Gelatin is what makes properly cooked “tough” cuts of meat so unbelievably succulent, tender and delicious.
Let’s take two 16oz pieces of beef from the same animal. The first, a 16oz NY Strip and the second a 16oz piece of brisket flat. If we cook both on a hot grill or cast iron skillet to an internal temperature of 115° F, let them rest for a few minutes, one will be delicious and melt in your mouth tender. The 16oz piece of brisket flat will be too tough for most people to even chew. The reason? Connective tissue and collagen. The NY Strip comes from the strip loin, which is a muscle group that is used relatively little and has little collagen and connective tissue. The brisket flat comes from the muscle group – pectorals major – and it is used every time the animal takes a step. BUT – when cooked properly, brisket can be as, if not more, tender and delicious than any cut of steak.
If you’ve hung around with BBQ folks at all, there are some magic numbers. The first one that comes to mind is 165° F internal temperature. 165° F is commonly referred to as “stall temperature” and it is coincidently the temperature where most incorporate the “Texas Crutch” which is simply wrapping the cut that’s being cooked in paper or foil. What else happens at 165° F?? That happens to be the front end of the temperature at which collagen really begins to convert to gelatin. The next magic number range is 195-203° F internal temperature. This is typically considered the ideal “finished temp” range, and somewhere in this range most will typically begin to “probe” the cut to determine “doneness”. The best description regarding probing for doneness, is that it should, “feel like a fork going into a stick of room temp butter.” This finish temp range coincides well with the internal temp of the meat being between 160° F and 200° F for 3 hours or more, which seems to be unofficially, but almost universally agreed upon framework for low and slow BBQ style cooking.
Braising adds one element to the cooking equation that doesn’t exist in BBQ style cooking. Fluid. The fluid is conductive and helps to transfer heat to the meat being cooked, while also providing a buffer to help apply heat evenly. It also provides plenty of water with which the gelatin can bond as it converts from collagen. It is noticeable in both the meat and the broth as they cool, it will cause the broth to “set” much like the Jello that most of us have come to enjoy and in the meat, it becomes the sumptuous, slightly sticky, beefy flavored element that make braised beef amazing.
When braising, it is important to select a cut that is rich in collagen (fat is fine too) – really tough cuts are ideal. A few strong contenders for braising are; brisket flat, brisket, chuck roast, neck roast, ox tail, shanks (osso buco), and any other cut that contains a good amount of connective tissue.
How to Braise:
Select a tough cut of beef with a lot of connective tissue – chuck roast, short ribs, etc. Place on a drip rack on a cookie sheet and season liberally with sea salt at least a few hours prior to cooking, but overnight is better. This process is called dry brining and it will help when it comes time to sear.
Searing – choose a pot with a lid that will easily hold the cut you are braising. Pre-heat it thoroughly to a medium/low heat. Add tallow or olive oil. Sear the meat well on all sides, do not worry about overcooking it during this process. When seared, remove the meat and set on a plate to rest.
Build the base – keep the heat on medium/low and add chopped onion, celery, carrots and garlic cloves. Follow them with a 1/4 to 1/2 cup of your choice of red wine, brandy, beef stock, etc, and stir and scrape until the vegetables become translucent and soft. Add a cup of water and a generous tablespoon of “Better Than Bullion” paste and any seasonings you wish. Place the roast and any drippings back into the pot and add water until the meat is approximately 3/4 submerged. Reduce heat to a very low boil and cover with lid.
Be patient – approximately 1 hour per pound of raw meat, but time will vary. You’ll know it is done when you can easily push a fork into the meat. When the meat is “fork tender”, remove it from the pot and cover it with foil.
Use a strainer or spider – remove vegetables and other solids from the broth. Raise the heat on the pot until a rolling boil is achieved and reduce the volume by approximately half and cut the heat.
At this point, the beef can be shredded or sliced, the broth can be used as a finishing glaze, or, if shredding the beef for sandwiches or tacos, can be added back to the beef, once shredded. The gelatin in the mixture will thicken as the beef cools and really elevates the experience.
Braised & shredded beef is perfect for: next to potatoes, in sandwiches, tacos, nachos, pasta dishes or anywhere else you want to make your favorite dish a little more beefy and delicious!
